Installing and upgrading
Prerequisites
Supported platforms
Please see the separate document on supported platforms.
Linux requirements
Most Linux servers include all further software required by Funnelback, however additional packages may be required for some Linux distributions - please see details on required software.
Note:
Funnelback will not run under enforcing mode under SELinux - if you are using SELinux you will need to run it in permissive mode on the Linux server that Funnelback is installed on.
Open file handle limits
Funnelback may require more open file handles than the default configuration permits on some Linux systems.
A recommended minimum value is 4096, however this value may need to be further increased if push collections are used under heavy update load.
The following steps can be used to raise the number of file handles permitted on RedHat Enterprise Linux and CentOS distributions.
Edit /etc/sysctl.conf to add the following line:
fs.file-max = 100000
and edit /etc/security/limits.conf to add the following lines:
root soft nofile 4096
root hard nofile 10240
search soft nofile 4096
search hard nofile 10240
and finally, reboot the server to cause the changes to take effect.
Funnelback installed components
When Funnelback is installed it will make use of an embedded web server (Jetty) for Funnelback administration and serving search queries. If desired, a different web server such as NGINX may be used to balance requests between multiple Funnelback servers.
On Linux systems Funnelback will create crontab records for scheduling query reporting etc., and init.d scripts are configured to cause Funnelback to start when the server boots.
Upgrading
Before upgrading to versions 14.2 or later you must go to Prepare Funnelback for upgrade in the system menu. For Version 14.0 only first shut-down jetty and then run the installer. Running the installer will extract a script which must be executed before the installer will upgrade funnelback. After executing the extracted script, run the installer a second time.
It is recommended that you backup your Funnelback installation prior to upgrading, including all data and indexes.
Do not attempt to move the previous Funnelback installation to a different directory prior to upgrading to a new version of Funnelback, as this may cause problems reinstalling ActivePerl or other systems required by Funnelback.
Installing / upgrading
After you have ensured that the prerequisites listed above are installed, follow the instructions below to install Funnelback on your server.
Starting the Funnelback installer
Windows
Prior to installing Funnelback on Windows, please ensure that the server's date, time and time-zone have been set.
After downloading or copying the Funnelback installer to your server, it can be launched by double clicking the downloaded file (Windows). Note that Funnelback must be installed by an Administrator user on the server.
1. Double click on the Funnelback installer

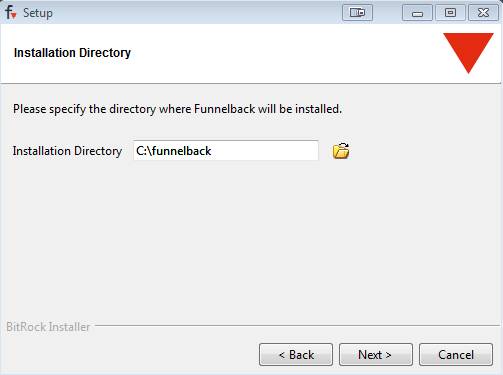
2. Specify directory where Funnelback will be installed
Note: You should install Funnelback to the drive where Funnelback will store all of it's data. This is often the non-system drive on Windows systems (e.g. D:\Funnelback).
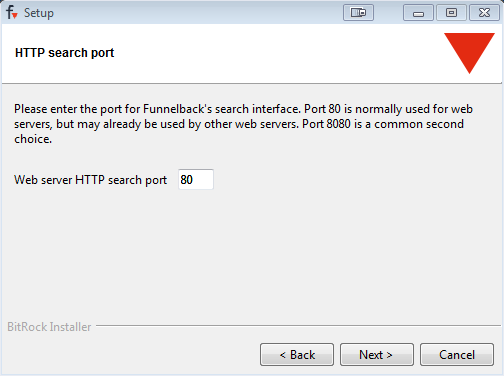
3. Specify web port for Funnelback's search interface
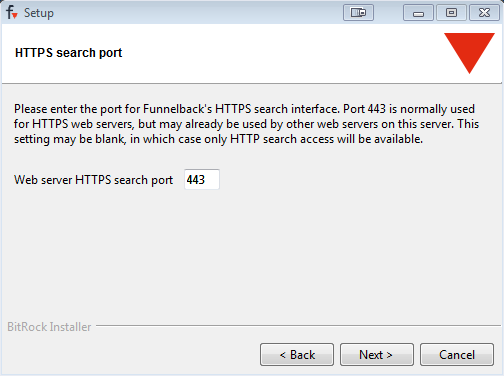
4. Specify secure (https) web port for Funnelback's search interface
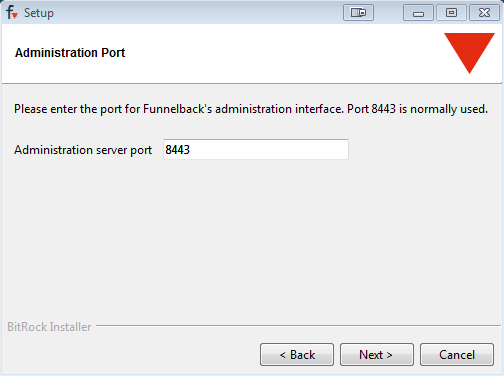
5. Specify admin ui port for Funnelback's search interface
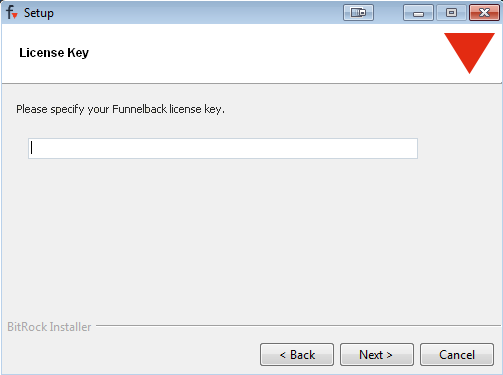
6. Enter Funnelback License Key - Please contact support@funnelback.com if you do not have a valid license key.
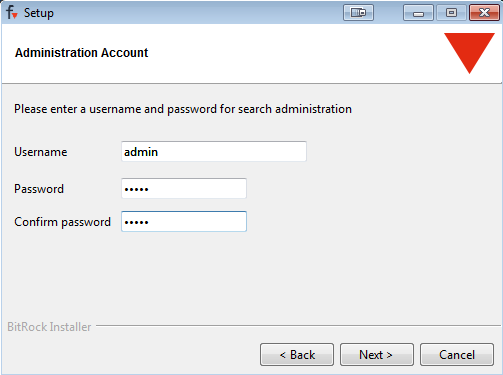
7. Specify Username and Password for initial Administration Account - Additional accounts can be created from the Administration UI.
8. (Optional) Provide mail server details - This step can be skipped and added at a later stage, providing mail server details will allow Funnelback to send email reports when collections are updated.

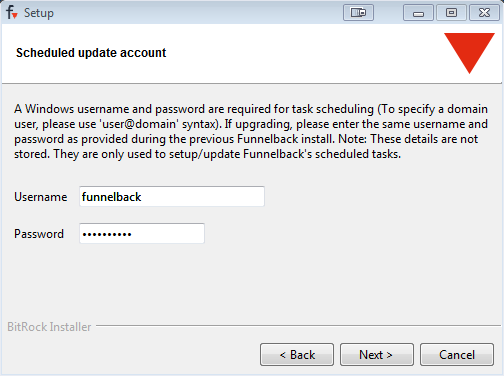
9. Provide Windows Account details - A valid Windows Account is required to set up Funnelback's initial scheduled tasks and IS NOT stored.
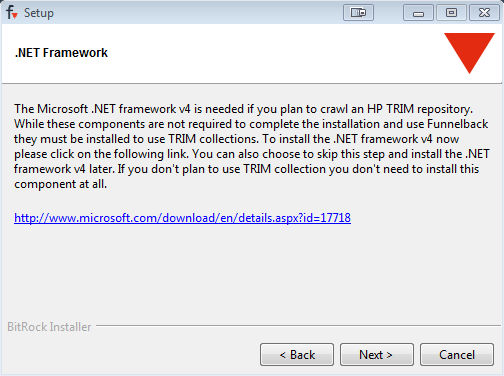
10. (Optional) Download .NET Framework - This step can be skipped and installed at a later stage, the .NET Framework is required for Funnelback to crawl and access TRIM repositories.
11. Installation Complete - You will now be able to access the Funnelback Administration User Interface using the Administration Account details created in Step 4, which will be opened in a Browser Window.
Linux
After downloading or copying the Funnelback installer to your server, it can be started from a command line as follows. Note that the Funnelback installer must be run by the root user.
chmod +x funnelback-<version information>.run
./funnelback-<version information>.run
Configuring your installation
Funnelback provides a range of configuration options during installation. The following list provides basic information on each of the details the installer may require prior to installation.
Install location
- Install path: This option allows you to select the location on your server where Funnelback should be installed.
- Migrate configuration: If an existing Funnelback installation is detected, choosing to migrate the configuration from this installation will ensure that collections will be migrated.
Funnelback settings
- Web server user (Unix only): This option determines which user's permissions are used to run the Funnelback web server. If the username provided does not already exist, it will be created. Note:
- It is recommended that the Funnelback web server not be run as root.
- This user should be used for any command line operations on the funnelback installation (to maintain correct permissions).
- If changing users during an upgrade, please note that the data directory ownership will not be altered by the installer (as this may be very time consuming). Please ensure that the
$SEARCH_HOME/data/directory is owned or writeable by the web server user after completing the installation.
- HTTP and HTTPS public UI ports: The TCP/IP port on which Funnelback should provide the web search interface. Normally this would be port 80 and port 443, but on many systems, another web server is already using port 80. Port 8080 is often a good second choice (See also the list of well known ports).
- HTTPS admin UI port: The TCP/IP port on which Funnelback should provide the administration interface. Default value is port 8443.
- Funnelback license key: This option verifies that this installation of Funnelback has the appropriate software license key.
- Administration username: This option specifies the username of the initial account to be created for administering Funnelback.
- Administration password: This option specifies the password for the user above.
- Funnelback mail from address (Windows only): This option specifies the address from which Funnelback should send email.
- Report update username (Windows only): This option specifies an user account which Funnelback will use to schedule report updates. To specify a domain user, please use the following syntax: user@domain. Using domain\user will not be accepted.
- Report update password (Windows only): This option specifies the password for the user above.
Advanced installations
The installer can be run in either "text" (command-line) or "unattended" modes, for systems with no graphical user interface or for automated installations. To run the installer in one of these modes in Linux, run either:
Linux text mode installation
./funnelback-<version information>-linux-installer.run --mode text
./funnelback-<version information>-linux-installer.run --mode unattended
Windows text mode installation
funnelback-<version information>-windows-installer.exe --mode text
funnelback-<version information>-windows-installer.exe --mode unattended
For an unattended install, all options must be specified at the first run time for the installer. To get a list of options that can or must be passed to the installer, run:
Linux installer help
./funnelback-<version information>-linux-installer.run --help
Windows installer help
funnelback-<version information>-windows-installer.exe --help
Post installation
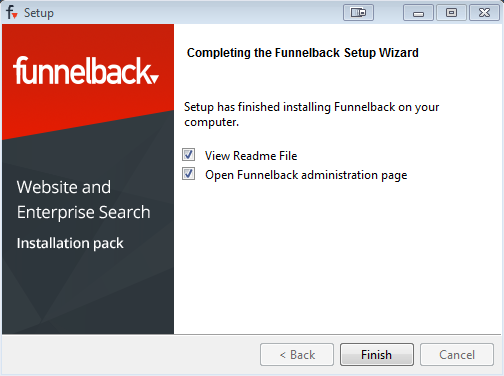
After entering all the above details, Funnelback will be installed at the requested location and perform initial configuration. After completing the installation, Funnelback will provide the option to view the Funnelback README file, and the option to open a web browser to the Funnelback administration page (or to the index upgrade page if upgrading from an earlier version of Funnelback).
Note that index upgrades will be performed on an offline copy of the indexes and should not cause any interruption to the search service.
Note: You must ensure that you have upgraded your indexes before trying to perform an instant update on an existing index after upgrading.
Getting started
Once Funnelback is installed, the administration interface can be accessed via a web browser at the url <https://hostname:8443/search/admin>. Before beginning administration you will be required to accept the server's SSL certificate and provide the administration username and password given during the installation.
Troubleshooting
See the troubleshooting initial Funnelback installation guide.
Further setup
When Funnelback is initially installed, an embedded web server is installed and configured to start when the server boots. This web server (Jetty) must be used for the Funnelback administration interface and also for the Modern UI, however some further configuration can be performed.
Handling large query volumes
Funnelback installations with large query volumes may need to increase the amount of memory available for processing and displaying query reports. See query reports hardware requirements and adjusting jetty web server memory usage.